

|
If you see a term underlined and in bold that you'd like more information about, just click on it for a quick pop-up definition. |
|
|
|
Unless you know the tricks, chances are your Photoshop-created GIFs are not optimized for the smallest file size. Read further to find out how to get the minimum number of colors in your palette and end up with a GIF that's small in K size as well as good-looking. First, it may help you to know a bit about the GIF format. All GIFs must be in Indexed Color mode, which means that they can contain only 256 colors or less (by contrast, most monitors display millions of colors). When you save a GIF, its palette of colors is saved with it. The fewer colors in that palette, the smaller the file size will be. With that in mind, start by creating your image in RGB mode, using web-safe colors. When finished with your image, it's always a good idea to save the file in PSD format, especially if you've used layers (and if you don't use layers, you should!). That way, if you need to make any changes to the image at a later date, it will be much easier to do so with the PSD instead of trying to make changes to a GIF. After saving as PSD, change the mode of your image to Indexed Color (Image>Mode>Indexed Color) and follow the steps below. |
 Step One
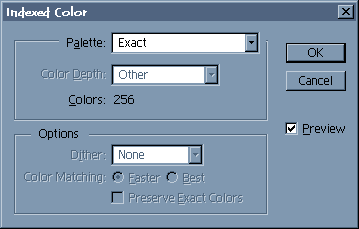
After choosing Indexed mode, the Indexed Color dialog will appear. Depending on the image and probably some other unknown factors, Photoshop will sometimes give you the exact number of colors in the image (as shown at left), other times it will not. If Photoshop gives you an Adaptive palette of 256 colors instead, go on to Step Two. If you are given an Exact palette as shown, skip to Step Three.
Step Two When offered the Adaptive palette, choose OK. Convert your image back to to RGB mode (Image>Mode>RGB), then do Image>Mode again and convert it back to Indexed Color mode. Stop there and don't yet choose OK. What we've done is forced Photoshop to throw out any unused or duplicated colors in your indexed palette. Now you've got an Exact palette and you can proceed to the next step. Note: Sometimes step two can be an unnecessary step. It is most helpful when you've used only flat color with no anti-aliasing. When you've used anti-aliasing, you can save time by skipping straight to step three. |
 Step Three
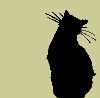
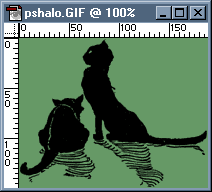
Now that you have an exact number of colors for your image, you can decide if you'd like to reduce those colors. For my particular image (shown at right), Photoshop has informed me that there are exactly 256 colors being used. Remember that in indexed color mode, one color is only one shade of a color. Although it looks as if I've only used two colors in the image, the anti-aliasing has actually caused there to be many shades of the green. Each shade is considered a separate color. Most of the time, even though an image may use many shades for anti-aliasing, it can use many fewer shades without a noticeable loss in quality. Test this with your image by changing the palette from Exact to Adaptive, then choosing a lower bit-depth, as shown below: |
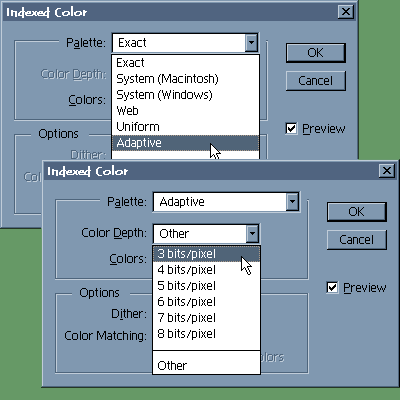 With the preview box checked, you can look at your image and see the results of choosing fewer colors. In the case of my cat image, I lowered the bit depth to 3 bits/pixel, which gave me an 8-color palette. From there I decided to go even lower, by manually typing in 5 in the colors box. There was no noticeable loss in quality from the original palette of 256 exact colors, and the result is a much smaller file size.
When you've finished adjusting your number of colors, hit okay to apply the Indexed Mode, then do File>Export>>GIF89a to export as GIF. |
|
|